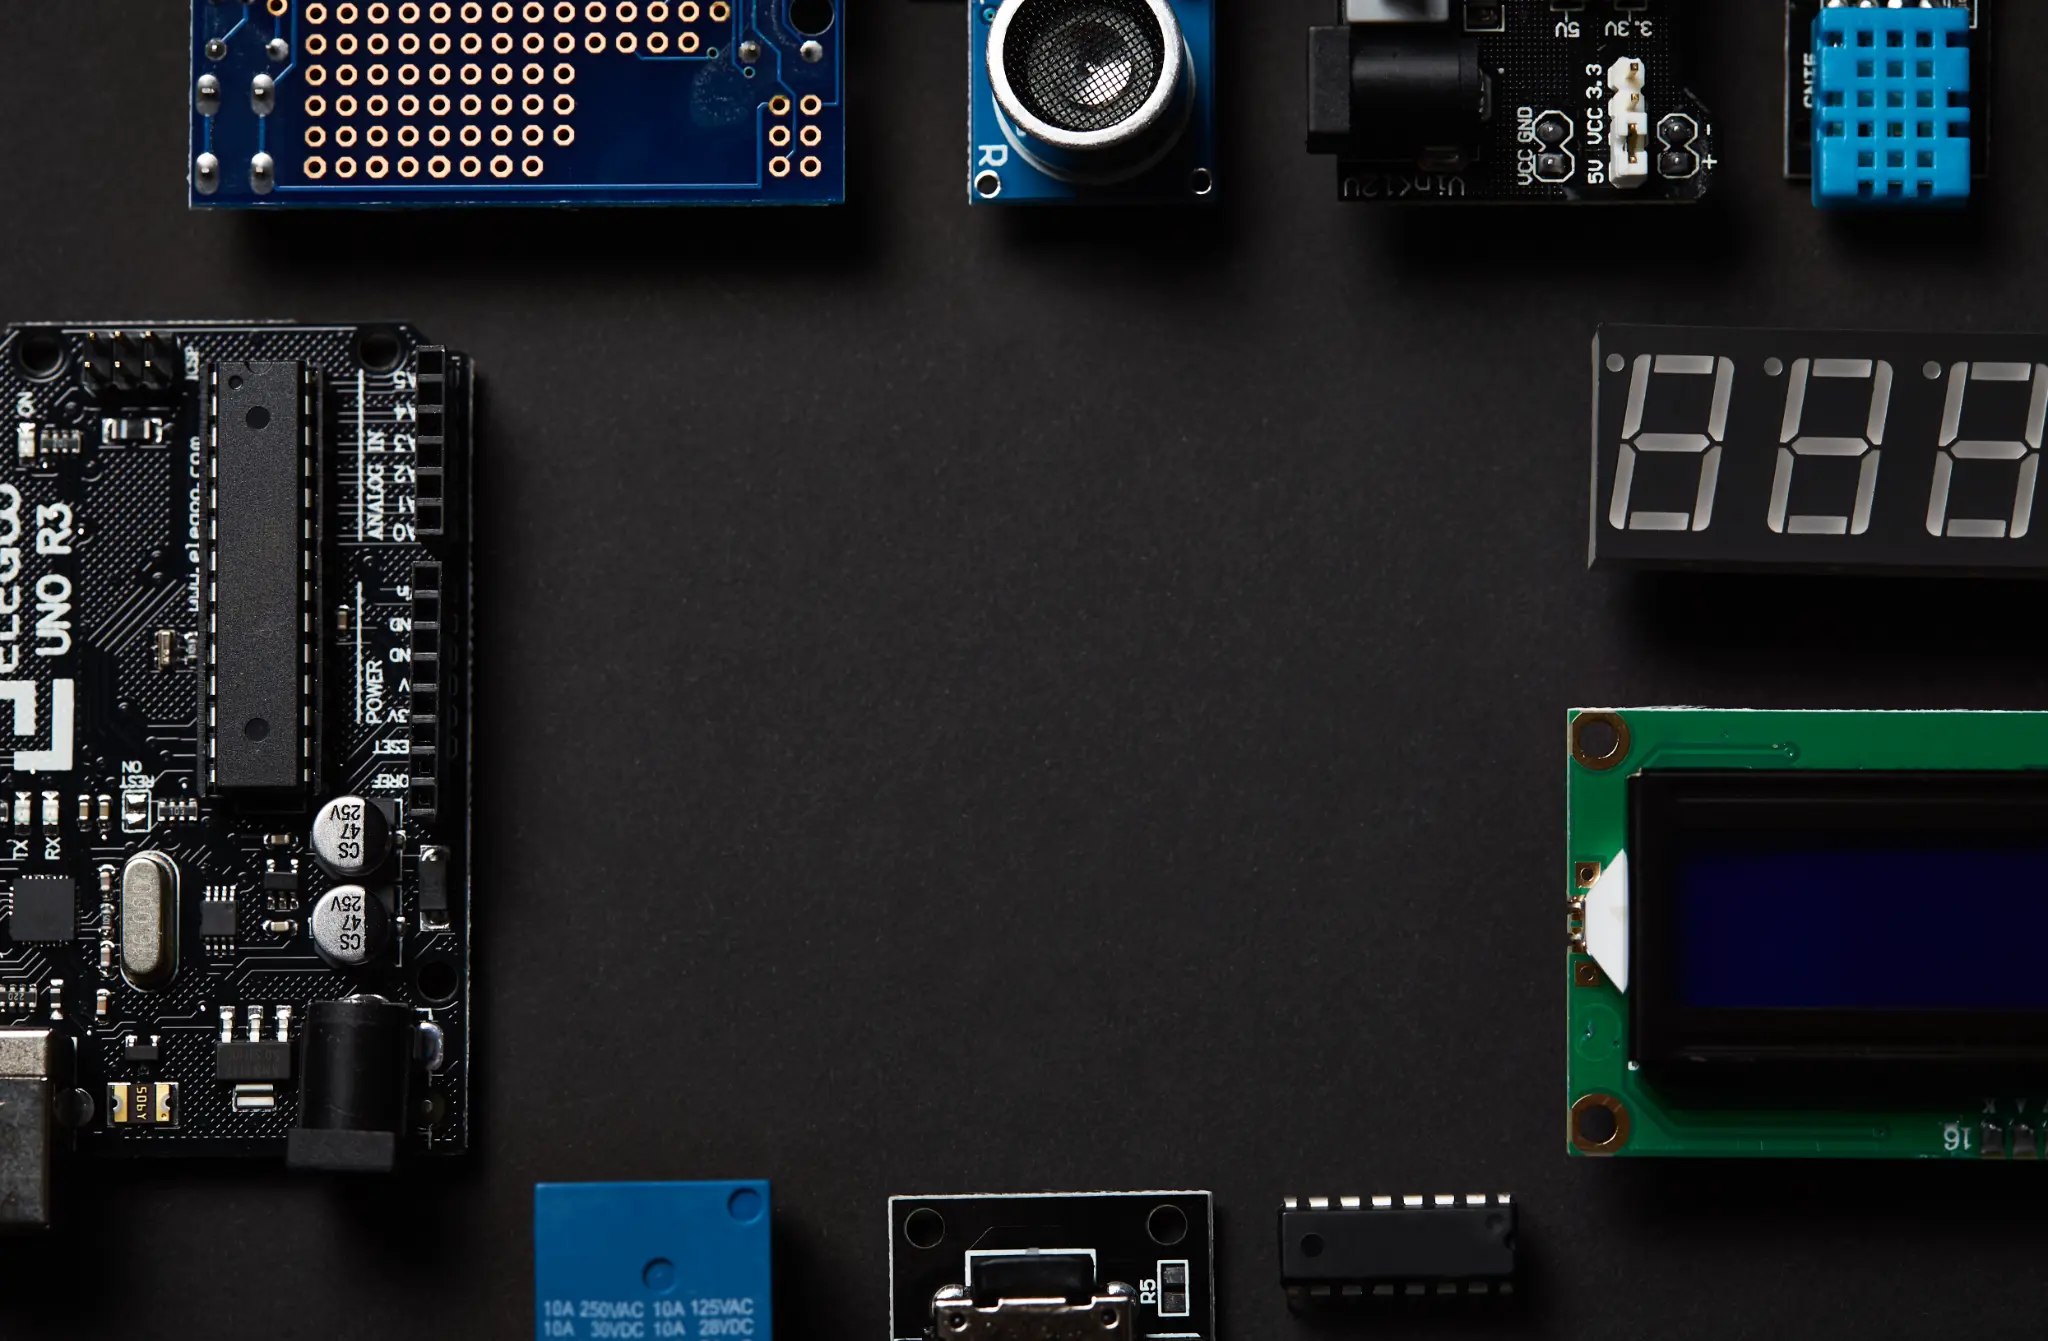
What you need
Raspberry Pi 4 Model B (4 GB RAM) or Raspberry Pi 5. This is your hub — it runs the controller software, records video, runs AI detection, and serves the local dashboard.
AI Thinker ESP32-CAM (classic, OV2640 sensor) or NullLabs ESP32-S3-CAM (8 MB PSRAM, OV3660). Each module is one camera. Add as many as your network supports.
Micro-USB to serial adapter for the initial firmware flash on AI Thinker boards. The S3 boards have built-in USB-C — no adapter needed.
For the Raspberry Pi OS. 32 GB minimum recommended; larger cards give more recording capacity.
5V/3A USB-C for the Pi. 5V/1A micro-USB for each ESP32-CAM (or a multi-port USB charger).
ESP32-CAM modules only support 2.4 GHz. Your router must have a 2.4 GHz band enabled. The Pi and your phone can stay on 5 GHz.
Part 1 — Flash the ESP32-CAM firmware
Each camera needs one initial USB flash. After that, all updates happen over the air.
Install the Arduino IDE. Add the ESP32 board package: Preferences → Additional Boards Manager URLs → https://dl.espressif.com/dl/package_esp32_index.json
Open esp32cam_firmware/esp32cam_streamer/esp32cam_streamer.ino
At the top of the sketch, set #define BOARD_MODEL 1 for AI Thinker or 2 for NullLabs S3.
AI Thinker: Board = AI Thinker ESP32-CAM, Partition = Minimal SPIFFS (1.9MB APP with OTA), PSRAM = Enabled.
NullLabs S3: Board = ESP32S3 Dev Module, Partition = 8M with spiffs, PSRAM = OPI PSRAM, Flash Mode = QIO 80MHz, Flash Size = 8MB, USB CDC On Boot = Enabled.
Connect via FTDI (AI Thinker) or USB-C (S3). Upload the sketch. Open Serial Monitor at 115200 baud, press reset, and confirm the camera announces config.local.
The firmware ships credential-free. The Pi provisions Wi-Fi automatically when you plug the camera into its USB port — or you can run python3 provision_camera.py manually.
Part 2 — Set up the Raspberry Pi
Transfer the project to your Pi and run the installer. Five minutes, one script.
Flash Raspberry Pi OS (Bookworm 64-bit recommended) to your MicroSD card using the Raspberry Pi Imager. Boot the Pi, connect to Wi-Fi, and open a terminal.
git clone https://github.com/RyanCrawfordOrr/esp32-multicam.git
Navigate into the raspberry_pi folder.
chmod +x install.sh && ./install.sh
This installs OpenCV, PyQt5, Flask, PyTorch (for AI detection), and all system dependencies. Takes 10–15 minutes on a Pi 4.
source venv/bin/activate
python3 master.py
The GUI opens with a live camera grid. Cameras are discovered automatically via mDNS. The setup wizard names each one as it appears.
Part 3 — Camera provisioning
Three ways to get Wi-Fi credentials onto your cameras.
Plug a fresh camera into the Pi's USB port. The Pi detects it, sends your Wi-Fi credentials automatically, and the camera reboots onto your network. No commands needed after a one-time sudo python3 provision_camera.py --save.
Run sudo python3 provision_camera.py with the camera plugged in. It auto-detects the serial port and uses the Pi's own Wi-Fi network.
Enable BLE provisioning with ./setup_ble_provisioning.sh and set "ble_auto_provision": true in cameras.json. Power on an unprovisioned S3 camera nearby and the Pi finds it over Bluetooth.
Part 4 — Running modes
Choose how the system runs based on your setup.
python3 master.py
Full PyQt5 interface with live grid, camera controls, detection log, and menu bar. Best with a monitor or Pi Connect remote desktop.
python3 master.py --headless
No display required. Streams, records, and runs detection. Access everything via the web dashboard.
--detect-model mobilenet (Pi 4 + Pi 5), yoloe-n or yoloe-s (Pi 5 / desktop only). Models auto-download on first run.
python3 master.py --record
Continuous MP4 recording to the hub's storage. Also controllable from the GUI and web dashboard.
The installer creates a esp32-multicam systemd service. Enable it for auto-start on boot: sudo systemctl enable esp32-multicam
Part 5 — OTA firmware updates
Update cameras over Wi-Fi without touching a USB cable.
Compile your updated sketch in Arduino IDE (Sketch → Export Compiled Binary). In the GUI: Camera → OTA Firmware Update → browse for the .bin file → select cameras → Push Firmware. Cameras reboot and reconnect in ~10 seconds.
python3 ota_push.py firmware.bin --all (all cameras) or python3 ota_push.py firmware.bin "Front Door" (specific camera by name).
Part 6 — Remote access (optional)
Access your cameras from anywhere without opening router ports.
Create an account, claim your hub with the printed code, and you're connected. $3.99/month, cancel anytime. The app and web dashboard reach your hub through an encrypted outbound tunnel.
Run the relay on the Pi itself with Cloudflare Tunnel (free tier). No port forwarding, works behind CGNAT. Full instructions in docs/SELF_HOSTING.md.
Part 7 — Streaming backend (optional)
Switch from the built-in UDP transport to go2rtc for multi-viewer efficiency.
A single-binary streaming hub that becomes the one client on each camera and fans out to every viewer. Zero transcode by default; optional WebRTC/H.264 for browser playback. Enable in cameras.json: "stream_backend": "go2rtc"
One camera client (reduces ESP32 load), unlimited browser viewers, standard protocols (WebRTC/HLS/MSE), auto-downloaded binary.
Troubleshooting
Power-cycle the camera, wait 60 seconds. Check Logs for that camera in the GUI. Confirm your Wi-Fi password hasn't changed. If it has, re-run camera setup.
Ensure the camera and Pi are on the same 2.4 GHz network. Check that mDNS/Bonjour is not blocked by your router. Run python3 doctor.py for a full system check.
On Pi 4, only MobileNet-SSD is supported (~5 FPS). For faster detection, use Pi 5 with YOLOe-Nano. Disable detection with --no-detect if not needed.
Ensure you're on Raspberry Pi OS Bookworm (Debian 12) or Trixie (Debian 13) 64-bit. Run sudo apt update && sudo apt upgrade -y first. Check available disk space (needs ~4 GB).
Lower the camera clock frequency: set CAM_XCLK_FREQ_HZ to 10000000 in the firmware sketch and reflash via OTA.
If the web dashboard shows “Device not connected” or the Pi logs say “[RELAY] Disabled”, open the local dashboard at http://<pi-ip>:5000/web/admin, click the command menu → “Remote Access (Relay)”. The built-in diagnostics will identify the issue (missing config, decryption failure, network error) and let you re-enter credentials and reconnect with one click.
Run the system doctor
The built-in diagnostic tool checks your entire setup in one command:
python3 doctor.py
It prints PASS/WARN/FAIL for the service, mDNS, dashboard, cameras (connected + streaming), stream backend, auto-provisioning readiness, and the relay.